Introduction
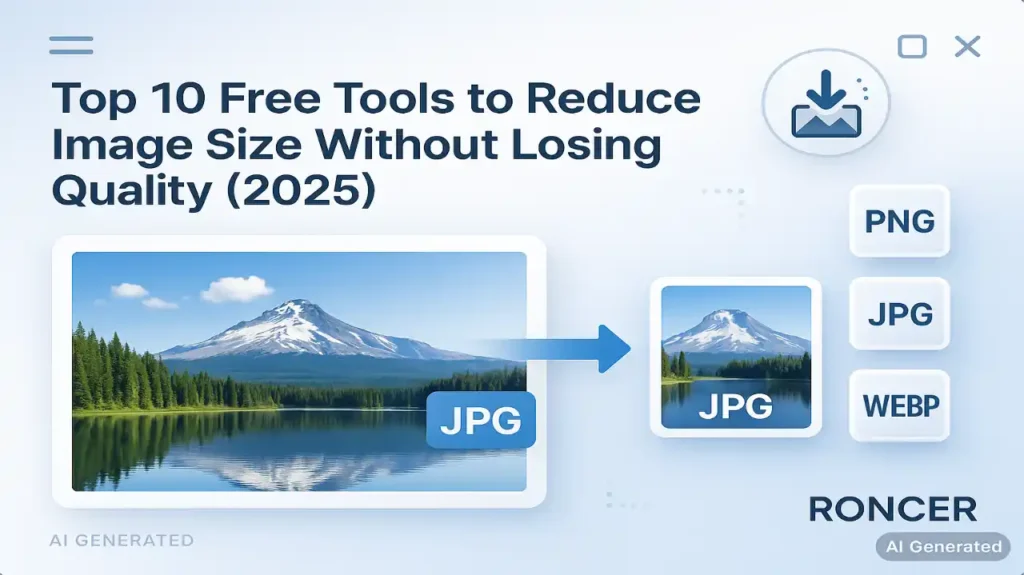
Want to shrink an image but keep it sharp? Been there. Whether you’re running a blog, an e-commerce store, or just trying to send photos without killing your inbox, the trick is to use the right tool and follow a few simple rules. Below I’ve rounded up 10 free tools you can use in 2025 to reduce image size without losing quality — plus quick tips, best use-cases, and a tiny checklist so you don’t wreck your visuals.

Let’s jump in.
Quick primer — how to reduce image size without losing quality
Short version: resizing (reducing pixel dimensions) + smart compression (algorithms that remove redundant data) = smaller files with little visual loss. Always keep an original backup. If you must choose, downscale resolution first (e.g., 4000px → 1200px for web) and then compress minimally. That combo usually gives the best visual result for pagespeed and SEO.
How I picked these tools
I focused on: ease of use, free availability, ability to preserve visual quality, useful presets (social sizes, export-to-KB), and privacy (client-side or clear deletion policy). I also tested typical workflows: “upload → choose size → export” and checked for batch options.
Read Also : What Are the Advantages of WebP Format? (Real Examples + Before-After Results)
Top 10 free tools (what they do best)
1. Simple Image Resizer — straight to the point
Best for: quick dimension changes and resizing to a target KB.
Why use it: super simple UI — upload, pick pixels/percent/KB, download. Great when you just want a fast resize without navigating an editor. Simple Image Resizer
Quick tip: use when you need an exact KB target for attachments or fast uploads.
Pros: Minimal UI, supports common formats.
Cons: Not an advanced compressor — pair with a compressor if you need extra savings.
2. Adobe Express — presets + trusted brand
Best for: creators who want presets for Instagram, YouTube thumbnails, and quick edits.
Why use it: Adobe gives ready-made sizes for every social channel, plus an editor if you want to tweak after resizing. Great for creators who want predictable results. Adobe
Pros: Presets, polish, additional editing tools.
Cons: Some advanced features behind login/premium.
3. Fotor — batch resizing + creative controls
Best for: batch resizes with minimal effort and a clean editor for final touch-ups.
Why use it: lets you batch resize and claims to preserve image quality even when changing many photos at once — handy for product catalogs and social posts. Fotor+1
Pros: Batch mode, presets, editor.
Cons: AI/editor features sometimes nudge toward paid tiers.
4. ImageResizer.com — bulk + target-size control
Best for: bulk operations and professional units (inches, cm, DPI).
Why use it: supports bulk resize, target file-size settings (KB/MB), and multiple units (pixels & inches) — useful if you mix web and print workflows. It also promises privacy (auto-delete). Image Resizer+1
Pros: Bulk sizing, target KB setting, flexible units.
Cons: Interface is tool-like (not editor-like) — purely functional.
5. Retoucher.online — quick presets and batch download
Best for: simple batch resizing with extra image tools (background remove, crop).
Why use it: combines resizing with other quick fixes; good for product photos where you need clean backgrounds and consistent sizes. Retoucher+1
Pros: Batch download, background removal combos.
Cons: UI can feel crowded if you only want a simple resize.
6. TinyPNG / TinyJPG (Tinify) — smart compression first
Best for: compressing photos with minimal visible loss.
Why use it: TinyPNG uses intelligent lossy compression that often saves large KB without obvious quality drop — perfect after you resize. Use it after scaling down to squeeze out extra savings. TinyPNG+1
Pros: Excellent compression for photos and WebP.
Cons: Strict free limits per month for bulk users.
7. Squoosh — privacy-first, client-side power
Best for: devs and privacy-conscious users who want full codec control.
Why use it: Squoosh runs in your browser (no upload), and you can compare codecs (WebP, AVIF, MozJPEG) and quality settings live — great for nerdy, exact results. Because it’s client-side, your images never leave your device. Squoosh
Pros: Local processing, codec comparison, precise control.
Cons: Slight learning curve for non-tech users.
8. BulkResizePhotos — unlimited batch resizes, no upload
Best for: people needing to resize dozens or hundreds of images fast.
Why use it: it supports unlimited resizing and processes locally (no server upload), making it fast and private for bulk tasks. Good for photographers and e-commerce shops prepping catalogs. Bulk Resize Photos+1
Pros: Unlimited, local, fast.
Cons: Doesn’t focus on fancy compression algorithms — pair with TinyPNG if needed.
9. Photopea — full editor with export control
Best for: users who want Photoshop-like control in the browser.
Why use it: Photopea can resize, crop, and export with detailed compression/export settings (quality slider, format choice). Use when you want to fine-tune before export. (Photopea is a robust web editor that behaves like Photoshop — great for power users.)
Pros: Advanced control, PSD/AI compatibility.
Cons: Slightly more complex UI.
10. ReduceImages / Imresizer — old-school, light & reliable
Best for: super-basic resizing and format changes.
Why use it: these lightweight tools do exactly one job—resize and convert—fast and without distraction. Use them when you want simple results with minimal fuss. Reduce Images+1
Pros: Fast, no frills, small pages.
Cons: Not for batch or advanced compression.
Quick workflows (pick one)
A — For blog images (fast + quality):
- Resize to max width 1200px (or 1600px if portfolio).
- Export as JPG at quality 80 or WebP 80.
- Run TinyPNG/Tinify for a final pass.
B — For social (preset + speed):
- Use Adobe Express or Fotor presets for platform sizes.
- Export as JPG/PNG depending on content.
- If many images, run BulkResize then TinyPNG.
C — Privacy-first (no upload):
- Use Squoosh or BulkResize (client-side).
- Choose AVIF / WebP for best compression if target browsers support them.
Pro tips to keep quality while shrinking files
- Always keep the original image.
- Don’t upscale — enlarging reduces quality.
- Resize dimensions before heavy compression.
- Prefer WebP/AVIF for web (smaller sizes, same quality) where supported.
- For product photos, keep consistent aspect ratio and use batch resizing.
FAQ (short and useful)
Will resizing always reduce quality?
No — reducing dimensions can actually improve perceived sharpness on small displays. Quality loss comes from over-compression or poor algorithms.
Which format keeps quality best at small sizes?
For photos: WebP or AVIF often give the best size-to-quality trade-off. For graphics with transparent backgrounds: PNG. But test with Squoosh or TinyPNG to compare.
Is client-side resizing safe?
Yes — tools like Squoosh and BulkResize process images locally, so nothing is uploaded.
Final word — which tool should you pick?
If you want simple and fast: Simple Image Resizer or Convertfilepro.com.
And want best compression after resizing: TinyPNG/TinyJPG.
Also want privacy and control: Squoosh or BulkResizePhotos.
If you want editor + presets: Adobe Express or Photopea.
All of these are free to start with — pick one for your workflow and pair it (resize → compress) for best results.
FAQ Section
- GEO vs SEO: How AI Search Optimization Tools Increase Organic Traffic Beyond Google Rankings - January 23, 2026
- Why Use AI Search Monitoring Tools in 2026? (Benefits, KPIs & ROI With Examples) - January 22, 2026
- How to Improve Brand Visibility in AI Search Engines in 2026 - January 21, 2026
